
Starting your birdwatching journey at home is exciting, but with so many feeder types, food options, and placement strategies, it can feel overwhelming. A well-planned bird feeding station makes everything simpler — creating a dedicated space where birds can feed, perch, and feel safe.
At Trail Optics, we believe a good feeding station should be easy to manage and rewarding to enjoy. Whether you’re new to birding or want to take your setup to the next level, here’s how to get started.
Step 1: Choose the Right Location
The spot you pick for your feeding station sets the tone for everything else. Check out our article on choosing the right location here!
- Visibility: Place it where you can easily see it from indoors.
- Safety: Position feeders 5–10 feet from trees or shrubs, giving birds cover without easy access for predators.
- Accessibility: Make sure the station is easy for you to refill and clean year-round.

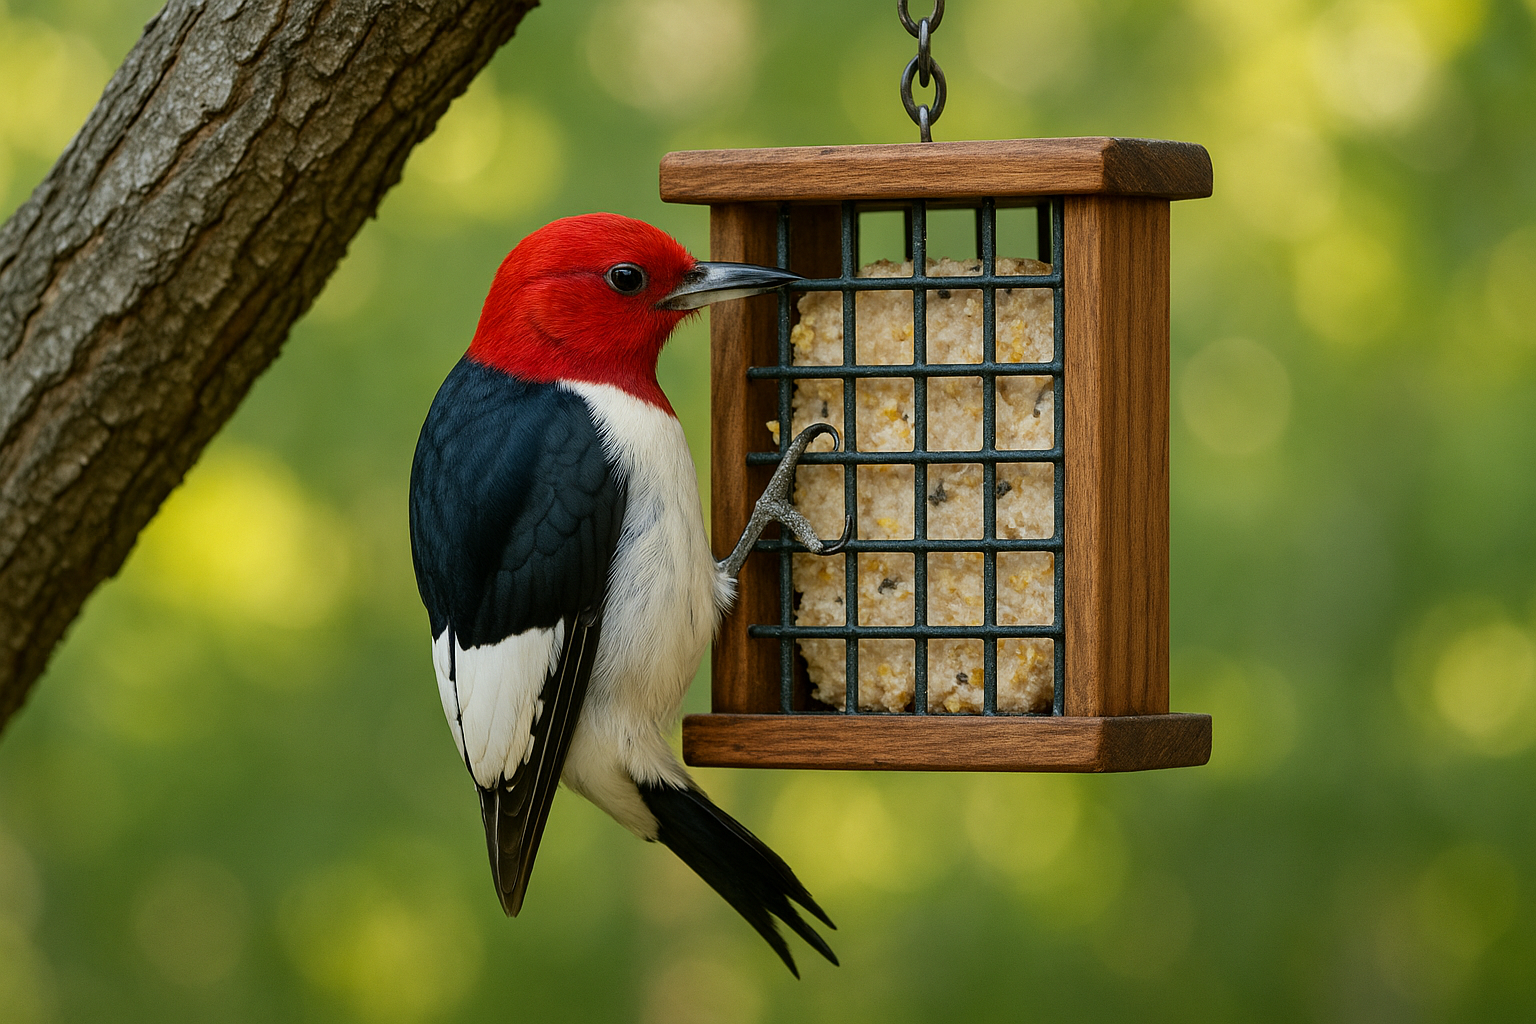
Step 2: Pick Your Feeders
Different feeders attract different species. A good beginner station includes variety:
- Tube feeders: Great for small songbirds like chickadees and finches.
- Platform or tray feeders: Perfect for cardinals, grosbeaks, and doves.
- Suet cages: Attract woodpeckers, nuthatches, and wrens.
-
Smart Feeders: Allows users to watch firsthand as their wild bird following grow.
Mixing feeder types creates a balanced station that welcomes a wide range of birds.
Step 3: Offer the Right Foods
High-quality food is the biggest draw for backyard birds.
- Black oil sunflower seeds: A staple loved by many species.
- Nyjer seeds: Ideal for finches and siskins.
- Suet: A high-energy food, especially important in cooler months.
- Fruit: Apples, berries, and oranges for robins, orioles, and waxwings.
Avoid cheap seed mixes with fillers like milo or wheat — most birds won’t touch them.
Step 4: Add Water and Shelter
A true feeding station supports more than food.
- Water sources: Birdbaths or shallow dishes help birds drink and bathe.
- Shelter: Native plants and shrubs provide cover, food, and nesting areas.
- Perches: Place feeders near branches or poles for easy access.

Step 5: Keep It Clean
A beginner-friendly station is one that’s safe. Clean feeders every 1–2 weeks and clear seed from the ground to prevent mold and disease. Consistent maintenance keeps birds returning year after year.
Why Smart Feeders Make Stations Simple
Building a station from scratch can feel like a lot, but Trail Optics smart feeders make it easier:
- Built-in cameras let you track which birds your station is attracting.
- Notifications when you're not home to keep track of birds and other visitors.
- Durable construction reduces weather damage and keeps seed fresher longer.
Smart feeders combine convenience with technology, giving you peace of mind while elevating the entire birdwatching experience.
Setting up your first bird feeding station doesn’t need to be complicated. By choosing the right location, mixing feeder types, offering the best foods, and keeping everything clean, you’ll build a space birds can rely on.
With Trail Optics smart feeders, your station becomes more than a feeding spot — it’s an interactive hub for learning, observing, and enjoying the beauty of birds in every season.

Leave a comment
This site is protected by hCaptcha and the hCaptcha Privacy Policy and Terms of Service apply.